GESTIONVAL ODNODN INFRASTRUCTURE Technical Inquiry

Circuit to be installed in the home s electrical distribution box

Setting up circuits in a home distribution box involves planning the layout, connecting breakers, grounding, and labeling each circuit while following strict safety standards.Understanding the Distribution Box

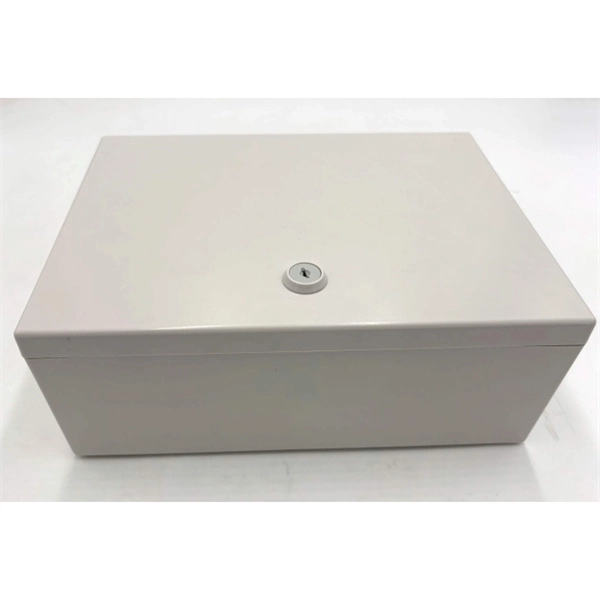
A home distribution box (also called a breaker box or distribution board) is the central hub that divides incoming power into multiple circuits for different areas and appliances in your home . Key components include:

  • Main breaker: Controls overall power supply.
  • Miniature Circuit Breakers (MCBs): Protect individual circuits from overloads.
  • Residual Current Devices (RCDs): Provide protection against electric shocks.
  • Busbars: Conduct electricity to the breakers.
  • Neutral and grounding bars: Ensure safe return paths and prevent electrical hazards .
Step-by-Step Setup
  1. Plan the Layout Determine the number of circuits needed and their locations. Separate high-power appliances (like ovens, dryers, or air conditioners) from general lighting and outlets . This helps prevent overloading and simplifies future maintenance.
  2. Gather Materials and Tools Essential items include circuit breakers, wires of appropriate gauge, screwdrivers, wire strippers, insulated pliers, electrical tape, and grounding rods . Ensure all components are UL/CE-certified and compliant with local codes.
  3. Turn Off Main Power Always switch off the main supply before starting any wiring to prevent electric shock .
  4. Connect Incoming Power
    • For 120V single-phase circuits, connect one hot wire to the breaker and the neutral to the neutral busbar.
    • For 240V split-phase circuits, use a two-pole breaker connecting both hot busbars, with the neutral connected if required by the appliance .
    • Connect the grounding wire to the grounding bar.
  5. Install Circuit Breakers Mount breakers on the metal tracks inside the panel. Ensure each breaker is rated appropriately for the circuit load (e.g., 15A for lighting, 20A for outlets), . Avoid overloading any single breaker.
  6. Wire the Circuits Run wires neatly from the breakers to outlets, switches, and appliances. Maintain proper color coding: black/red for hot, white for neutral, green/bare for ground . Secure wires to prevent strain or damage.
  7. Grounding and Earthing Proper grounding is critical. Connect all metal enclosures and devices to the grounding bar to prevent shock hazards .
  8. Label and Organize Clearly label each breaker with its corresponding circuit. This simplifies troubleshooting and future upgrades .
  9. Testing and Safety Checks Before restoring power, use a voltage tester to check connections. Test RCDs and breakers to ensure proper operation . Never bypass safety devices.
Best Practices
  • Follow local electrical codes (NEC, IEC, or regional standards).
  • Use the correct wire gauge for each circuit to prevent overheating.
  • Maintain ventilation around the panel to avoid heat buildup.
  • Schedule regular inspections to ensure long-term reliability . By carefully planning, following safety protocols, and using proper materials, you can set up a home distribution box that is safe, efficient, and easy to maintain .
Circuit to be installed in the home s electrical distribution box

DIY Wiring a Consumer Unit and Installation

A Sub Circuit can be an electric cable distributing power to few lights, or a socket outlet/s through a MCB device or a Fuse in the

Technical note

This reference is intended for preliminary ODN and passive infrastructure research. Topology, split ratio, box or cabinet capacity, closure rating, cable type, test limits and applicable standards must be verified for the specific project.

Still Have a Technical Question?

Use the inquiry form to describe an ODN network, passive component or distribution box question.

Start an Inquiry