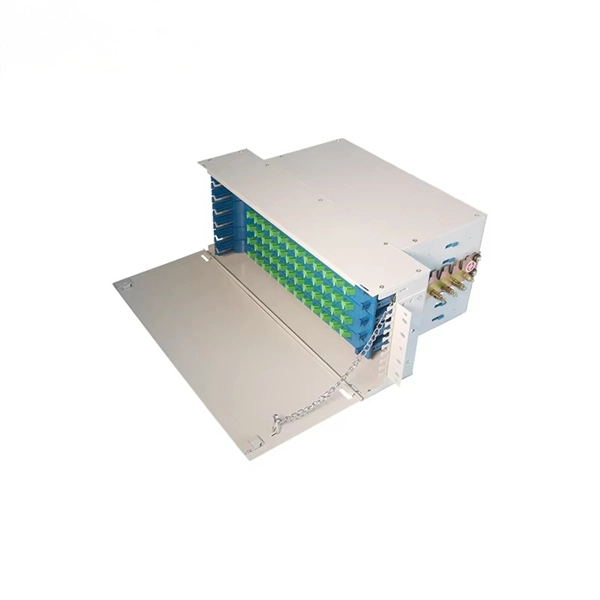
Proper network server rack installation ensures equipment stability, efficient airflow, and maintainable IT infrastructure.Planning and Rack Selection
Before installation, plan your rack layout carefully. Determine the number of devices, including servers, switches, and storage units, and leave extra space for future expansion . Choose a rack that matches your equipment dimensions (height, width, depth) and supports the total weight . Standard racks follow the EIA-310 specification, with 1U equaling 1.75 inches in height, and common full-size racks are 42U . Consider pre-configured racks for convenience or custom racks for unique requirements .
Rack Placement and Environment
Select a location with stable temperature, proper ventilation, and easy access to power and network connections . Avoid areas near windows, doors, or dusty and moist environments. Ensure enough space around the rack for maintenance and airflow. Place heavier equipment, like servers and UPS units, at the bottom to stabilize the rack and lower the center of gravity . Position network switches and patch panels toward the top for easier cable management.
Installing Rails and Mounting Equipment
Most servers use a two-piece rail system: outer rails attach to the rack, and inner rails attach to the server chassis . Steps include:
- Mount Outer Rails or Shelf Supports: Align rails level and evenly spaced to prevent mechanical stress .
- Adjust Depth: Ensure rail depth matches the server chassis for smooth insertion .
- Secure Rails: Use manufacturer-supplied screws or clips, avoiding mismatched hardware .
- Insert Servers: Slide the server into the rack, confirming alignment and secure locking . For shelves or fixed brackets, test-fit the server height to confirm proper U-spacing .
Cable Management and Power
Organize network and power cables to maintain airflow and simplify maintenance . Use cable trays, Velcro ties, and labeled connections. Install rack-mount PDUs for power distribution and consider a UPS to protect against outages . Leave space for airflow behind and between devices to prevent overheating.
Cooling and Airflow
Ensure front-to-back airflow by leaving gaps or using filler panels . Avoid hot spots by separating noisy or high-heat equipment. Proper airflow reduces the risk of overheating and improves equipment lifespan.
Security and Maintenance
Place racks in secure areas with limited access and consider locking doors or panels . Maintain cleanliness to prevent dust accumulation, which can damage equipment . Group similar devices together for easier troubleshooting and monitoring . Regularly check alignment, cable routing, and airflow to ensure long-term reliability.
Summary
A successful network server rack installation combines careful planning, proper rack selection, secure rail mounting, organized cabling, and efficient cooling. Following these best practices ensures equipment stability, optimal performance, and easier maintenance in both home labs and professional IT environments .